Rockets
Fall 2016
First part summary
For this project, we were given a thin balsa wood sheet that was 3” x 18" long, some sandpaper, an exacto knife, and a small tube of superglue and asked to build a rocket, with basically no direction. Neither my partner or I had any experience with building rockets, so we just kind of winged it.
First rocket:
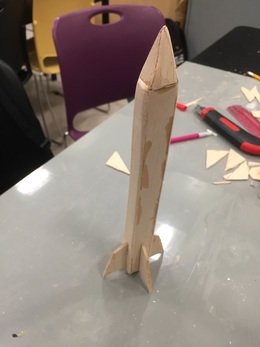
It ended up looking kinda like a sad novelty pencil.
Building the rocket:
First launch:
The launch went okay, but definitely not as good as some others.
Then, we were asked to build a second rocket using the same materials. We were determined to do better than last time. We wanted our rocket to go higher and make our rocket look cleaner.
Then, we were asked to build a second rocket using the same materials. We were determined to do better than last time. We wanted our rocket to go higher and make our rocket look cleaner.
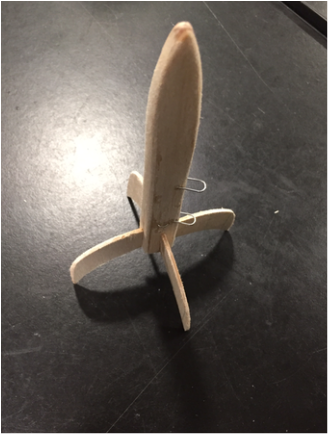
Our second design definitely looked much cooler and less pencil like.
Second rocket:
Second launch:
Really, really underwhelming. At least it got off the launch pad and went a few feet up, but it was worse than our first one, which we were not expecting. We had really high hopes for this one. A mildly sad end to the rocket project.
Reflection:
Second rocket project
After our mini balsa rockets, we're now stepping it up a bit and building the next size up rockets, which are a little more dangerous and take a lot more planning because of that.
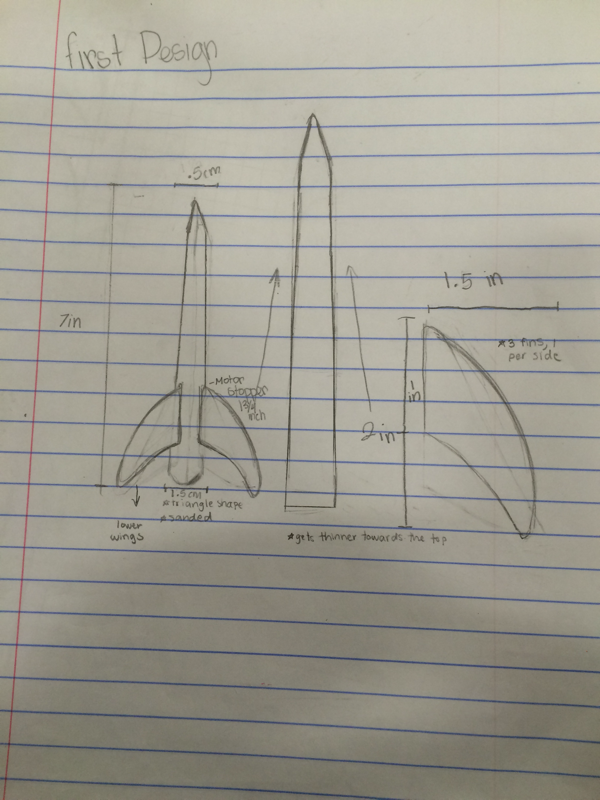
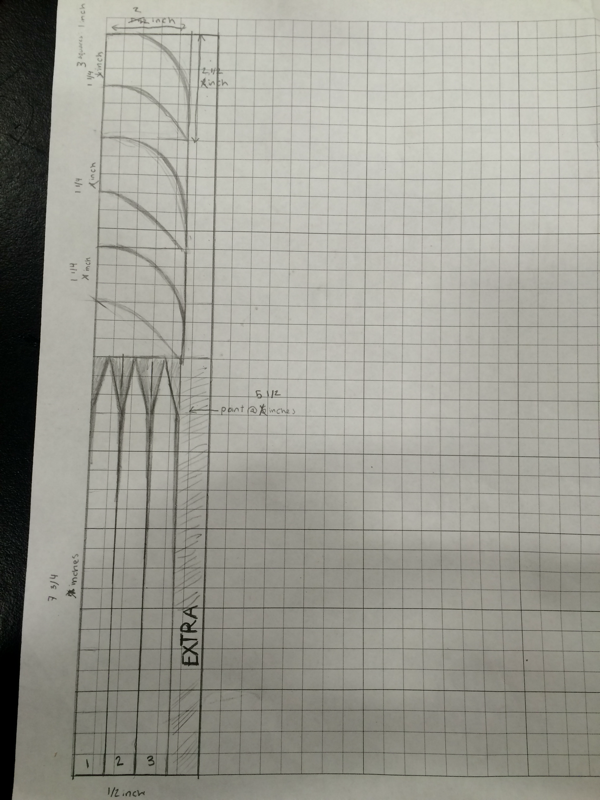
This time around, we had to make very in depth designs.

Materials List:
Body:
PVC pipe
Flooring paper
Wood glue
Paint
Wadding
Camera
Nose Cone:
Hard foam
Mold to make nose cone
Motor:
Flooring paper
Wood glue
Kitty litter
Fuel mix
Drill press
Elmer’s glue
Tape
Mold for motor housing
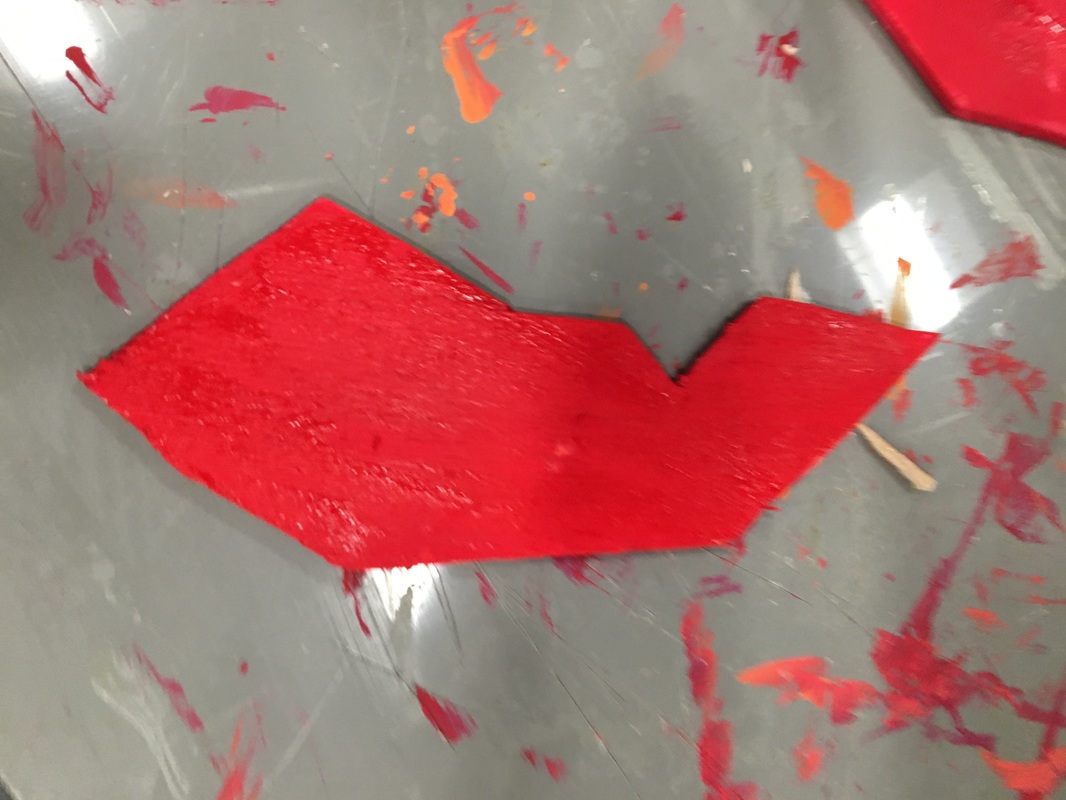
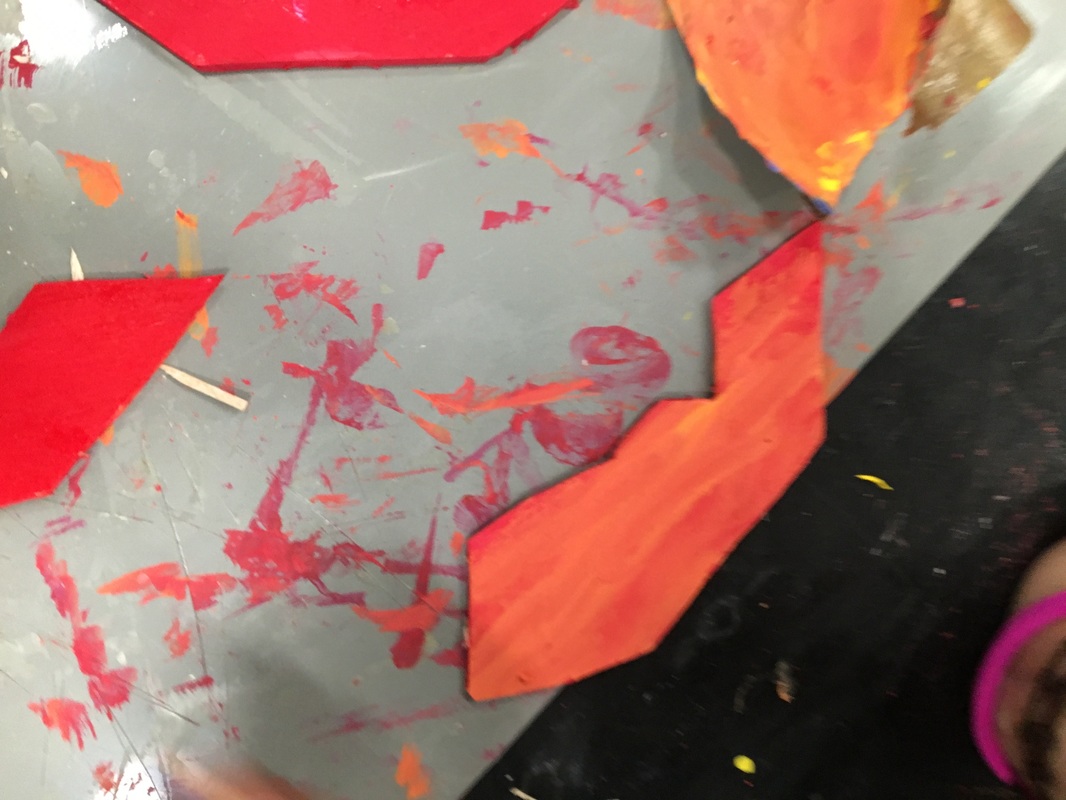
Fins:
Hard plastic/acrylic
Laser cutter to cut the fins
Superglue
Parachute:
Plastic biohazard paper
String
Tape
Body:
PVC pipe
Flooring paper
Wood glue
Paint
Wadding
Camera
Nose Cone:
Hard foam
Mold to make nose cone
Motor:
Flooring paper
Wood glue
Kitty litter
Fuel mix
Drill press
Elmer’s glue
Tape
Mold for motor housing
Fins:
Hard plastic/acrylic
Laser cutter to cut the fins
Superglue
Parachute:
Plastic biohazard paper
String
Tape
Right now, we have a schedule so we know what we;re doing every day and not wasting time.
Monday, October 3rd: Rocket Launch @ Fiesta Island - Everyone
Friday, September 30: Final Motor Construction - Everyone
Thursday, September 29: Finish painting the rocket - Andrea
Motor Prototype Test and Documentation - Ariana
Wednesday, September 28: Finish making the rocket. - Everyone
Friday, September 23: Get design, schedule, and materials list approved - Everyone
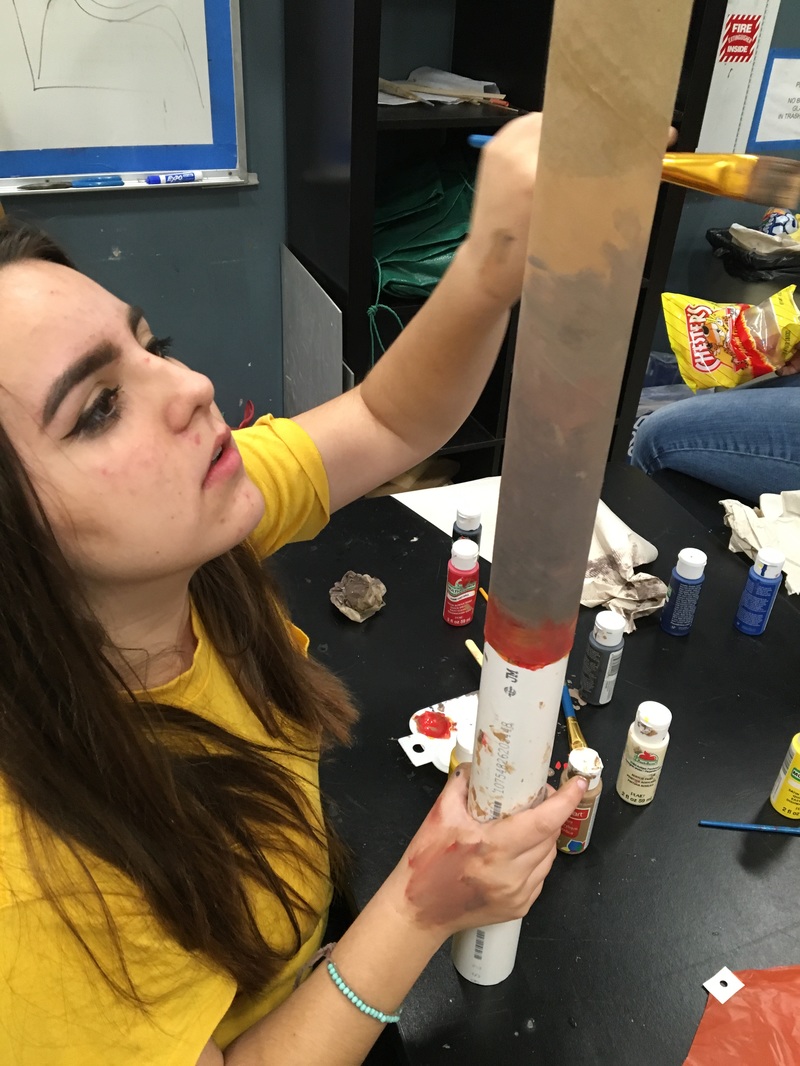
Making the body:
To make the tube/body for a rocket, we needed to wrap strips of paper coated with wood glue tightly around a PVC pipe to create a body that won't fall apart.
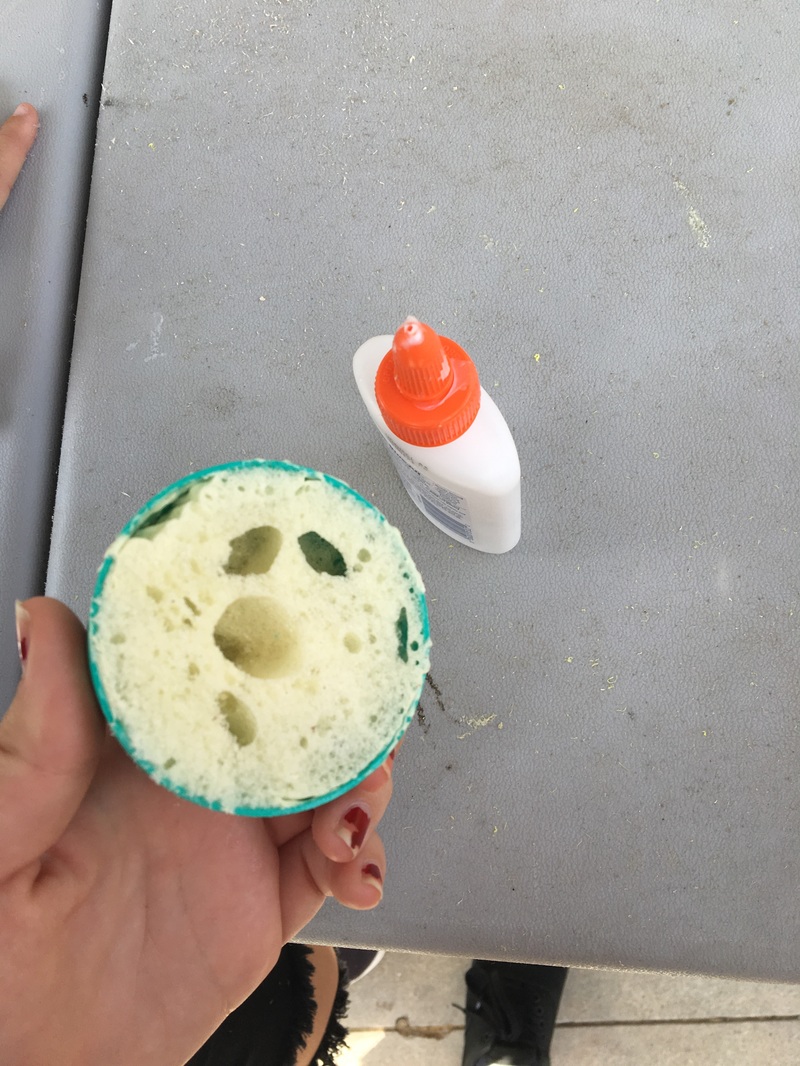
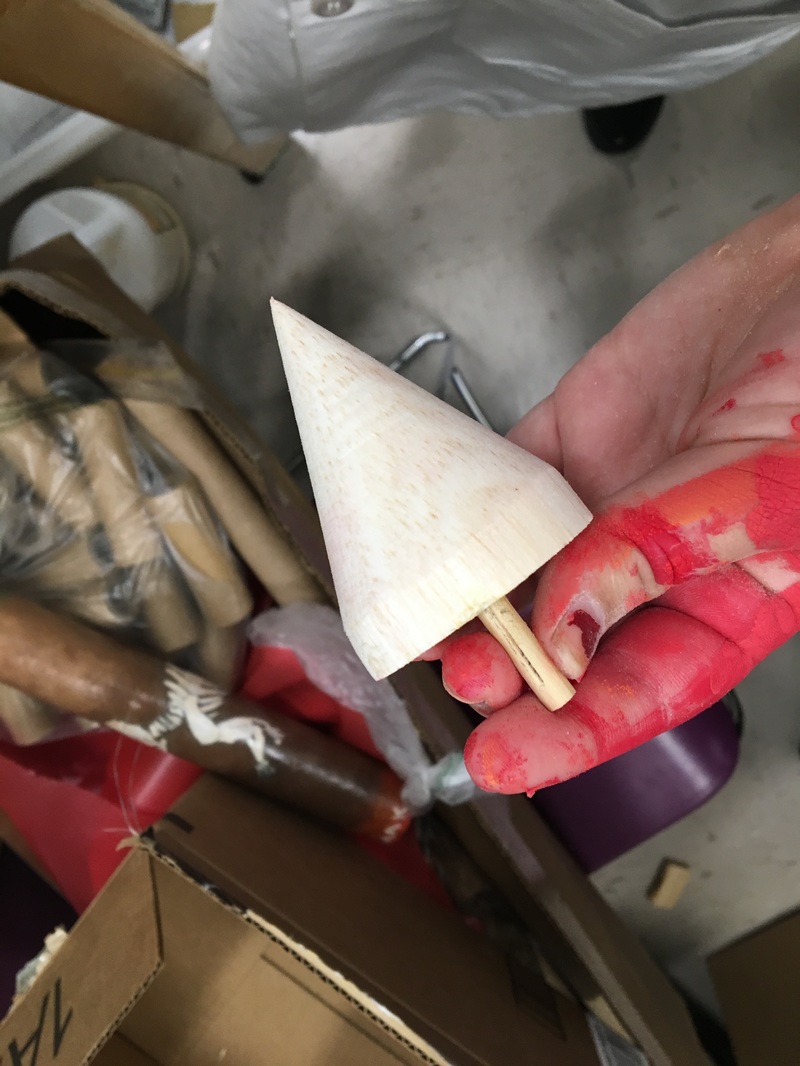
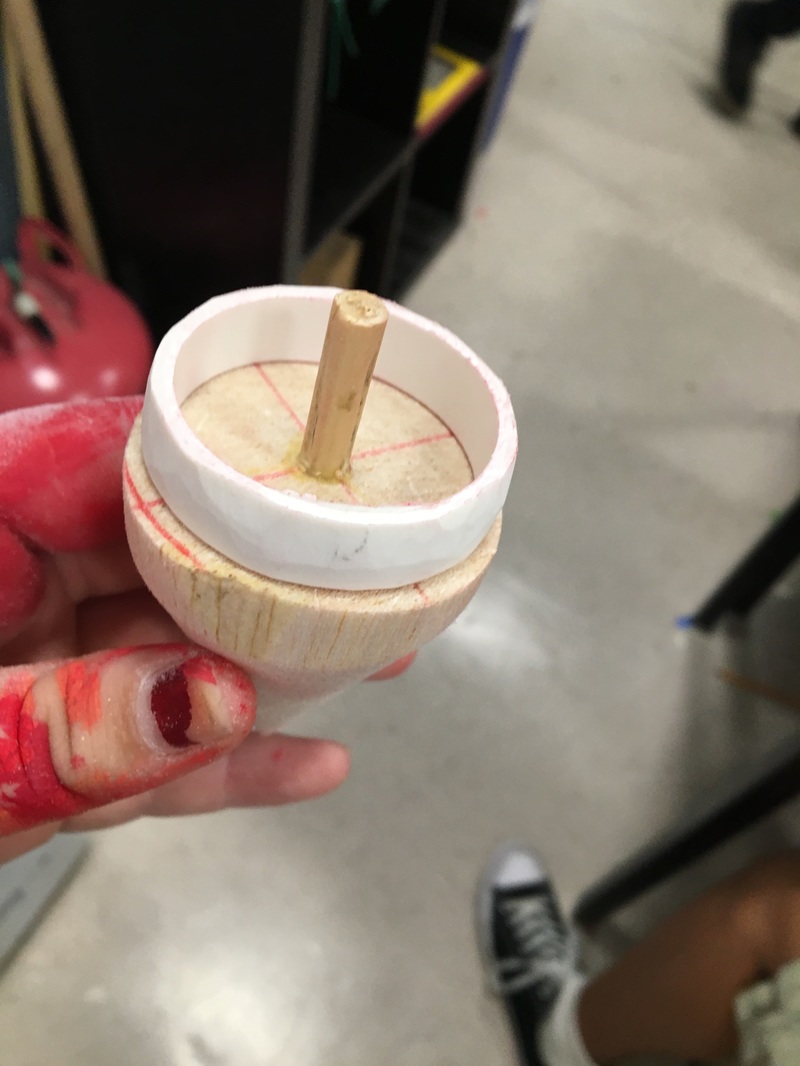
Making the nose cone:
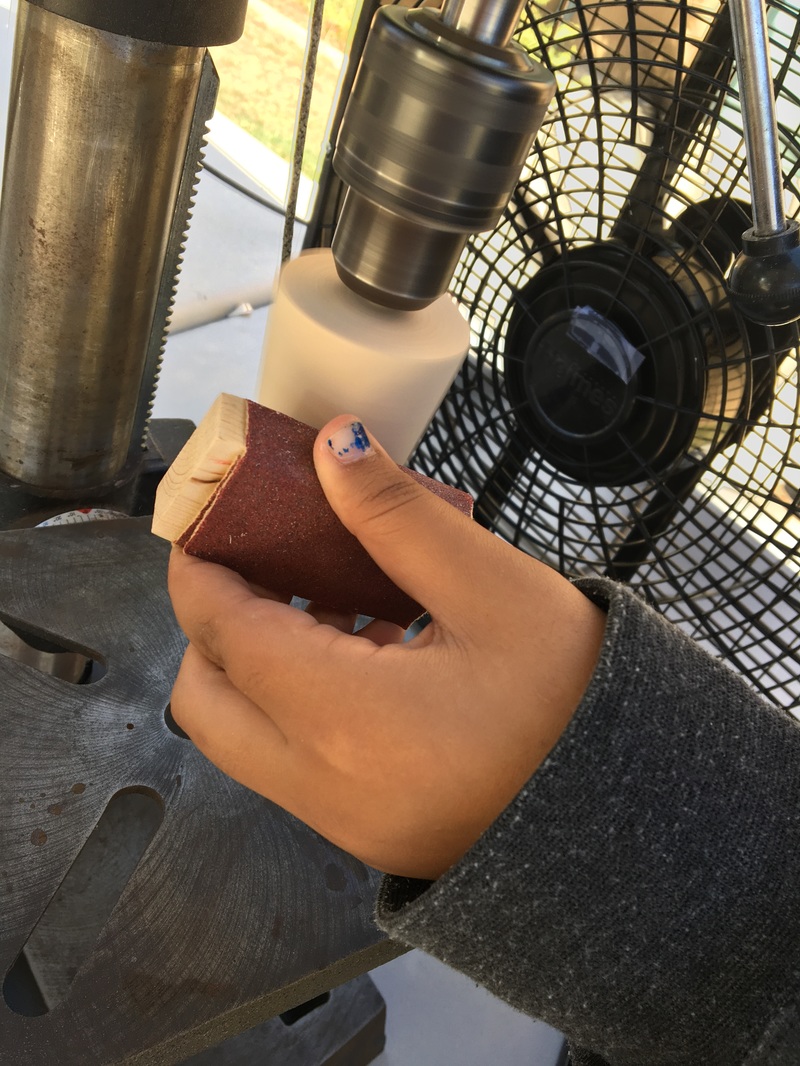
This part was definitely the hardest for our group. We wanted our nose cone to be made out of hard foam, and unfortunately, that didn't work out. We filled an easter egg with hard foam and discovered it was too big for our rocket, so we sanded it down.
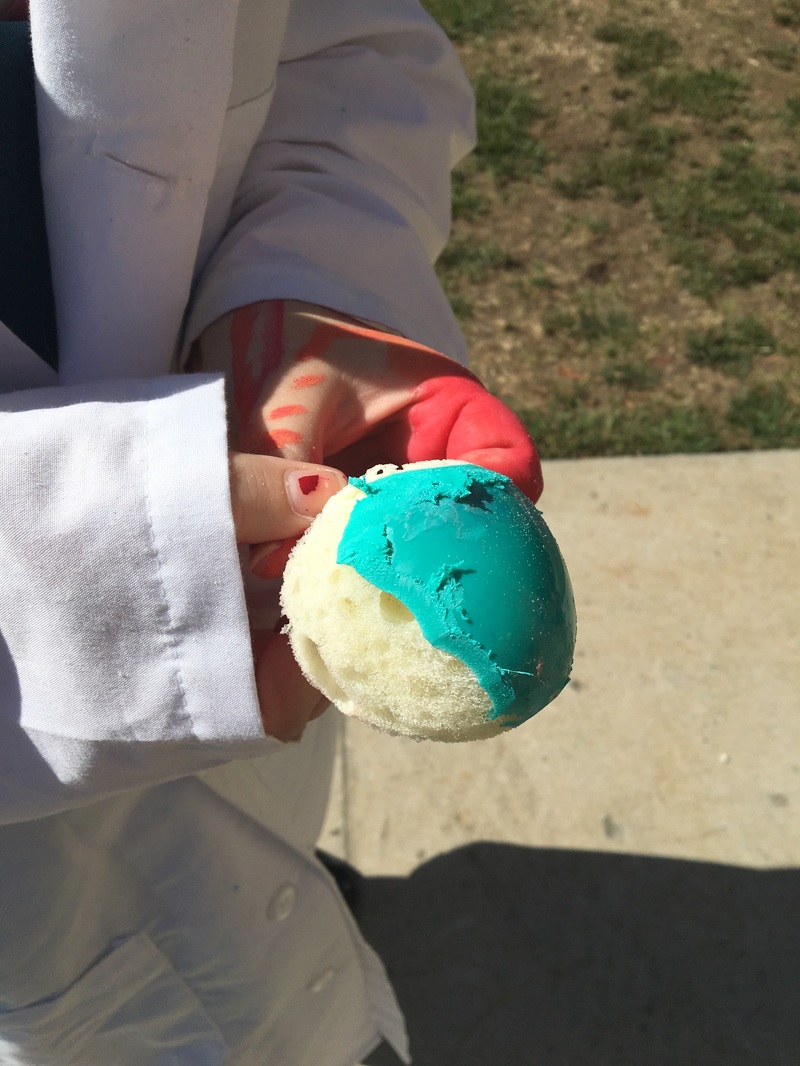
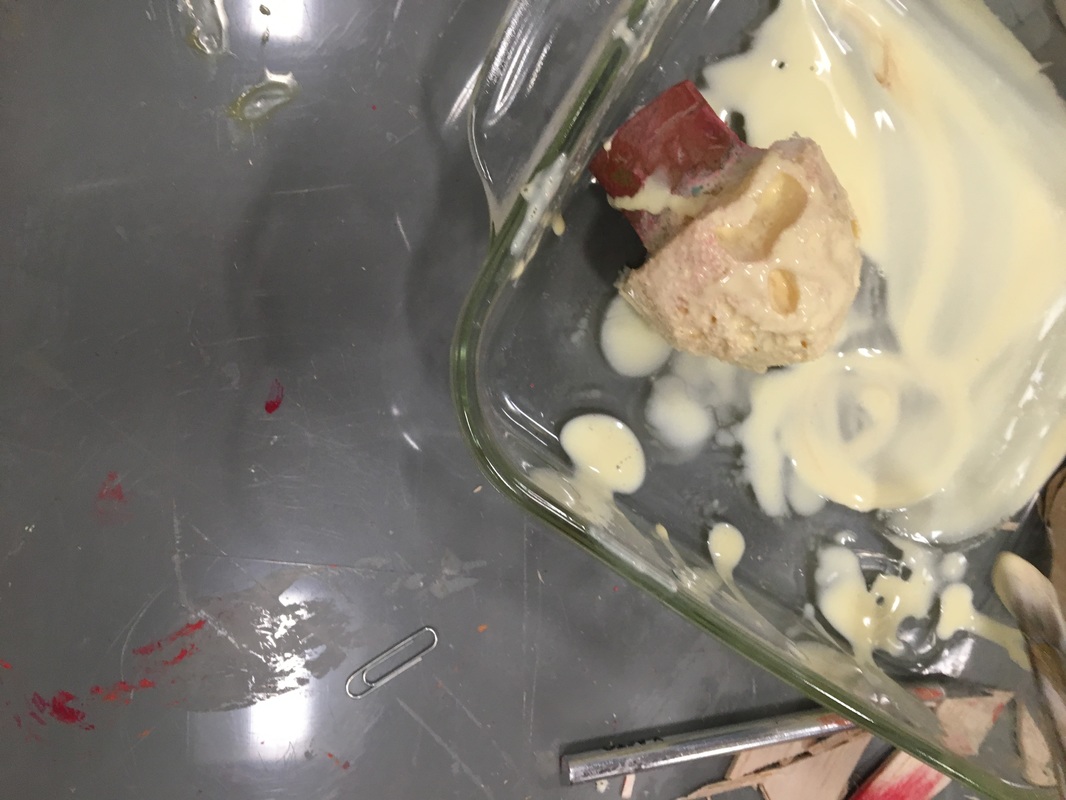
Needless to say, we trashed it. It had too many holes and was uneven from the sanding. But we made a better nose cone from balsa wood.
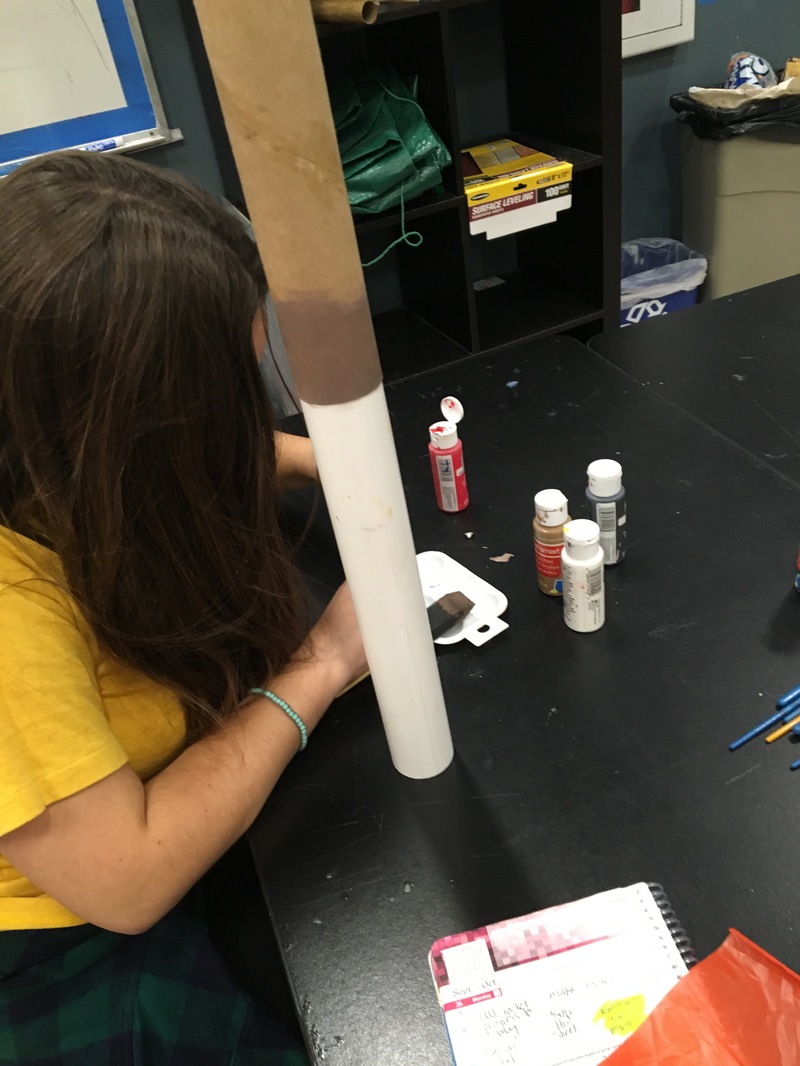
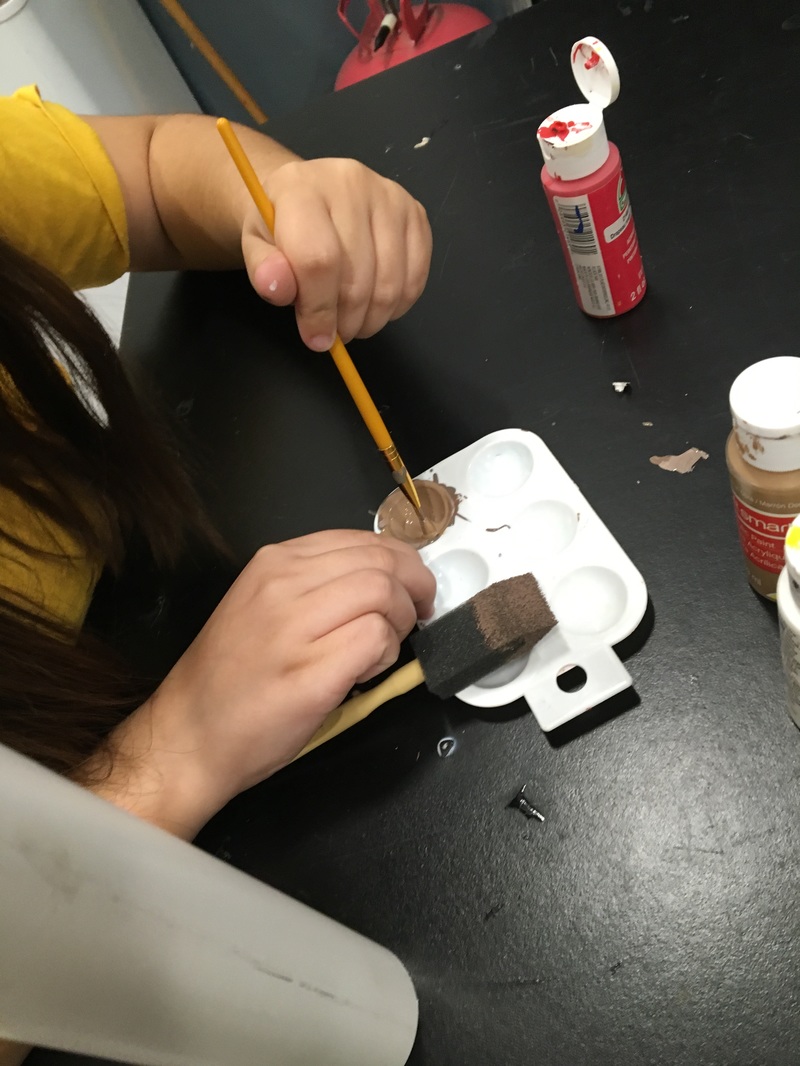
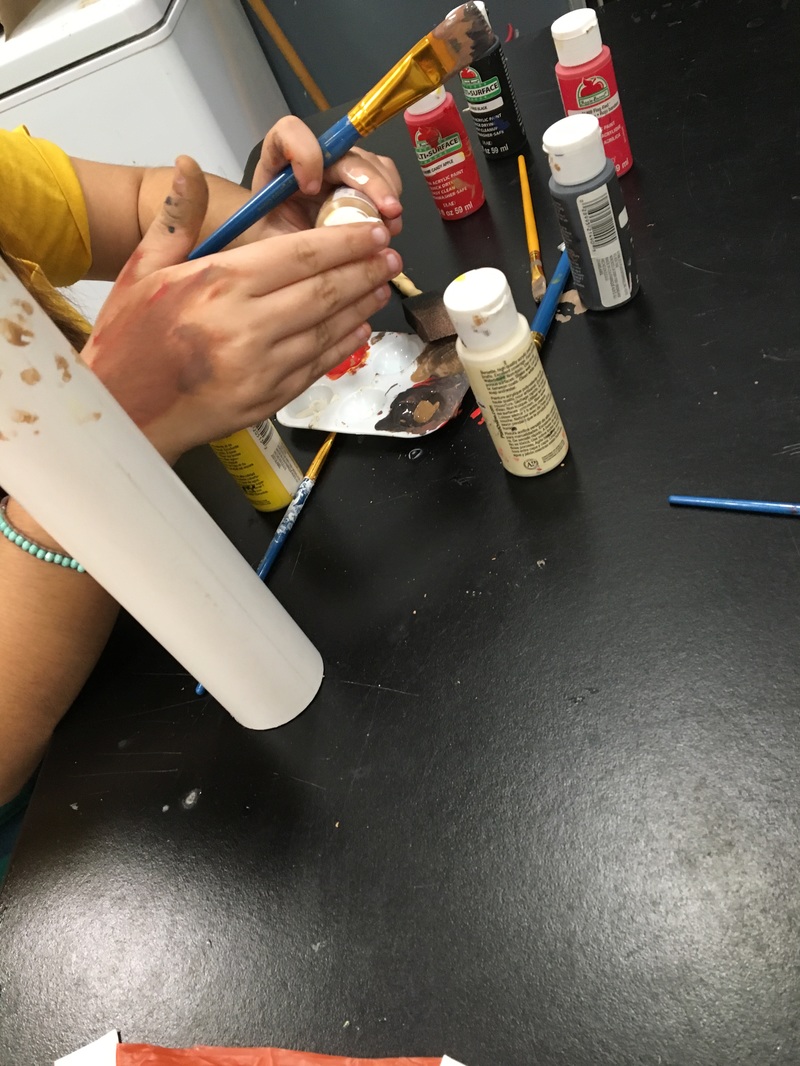
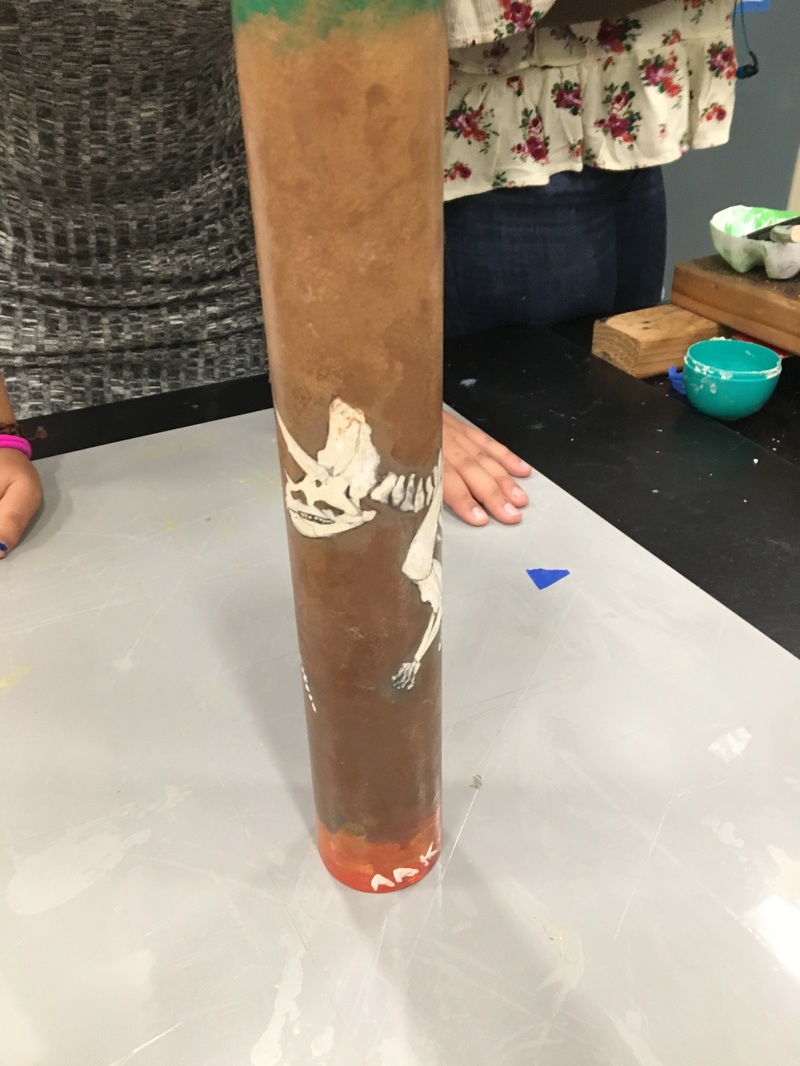
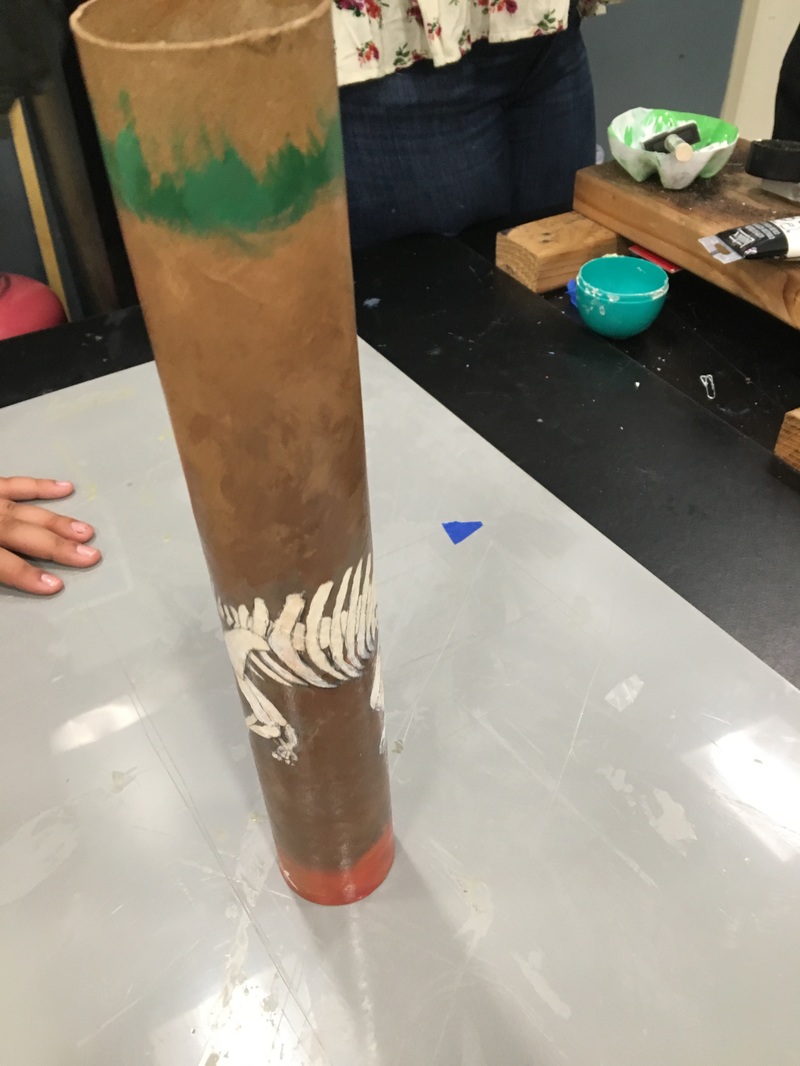
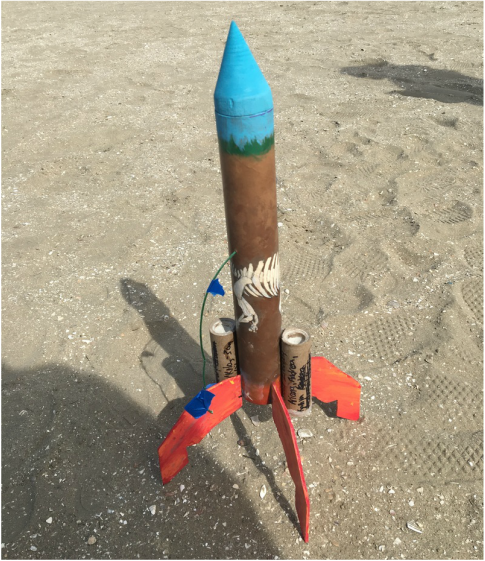
Painting the rocket:
This was the part that I was the most involved in, and in my opinion, the most fun. We wanted to do something different with our rocket rather than just solid colors, and we came up with the idea to do a sort of layers of the Earth thing with a dino dude buried there.
The finished rocket painting!

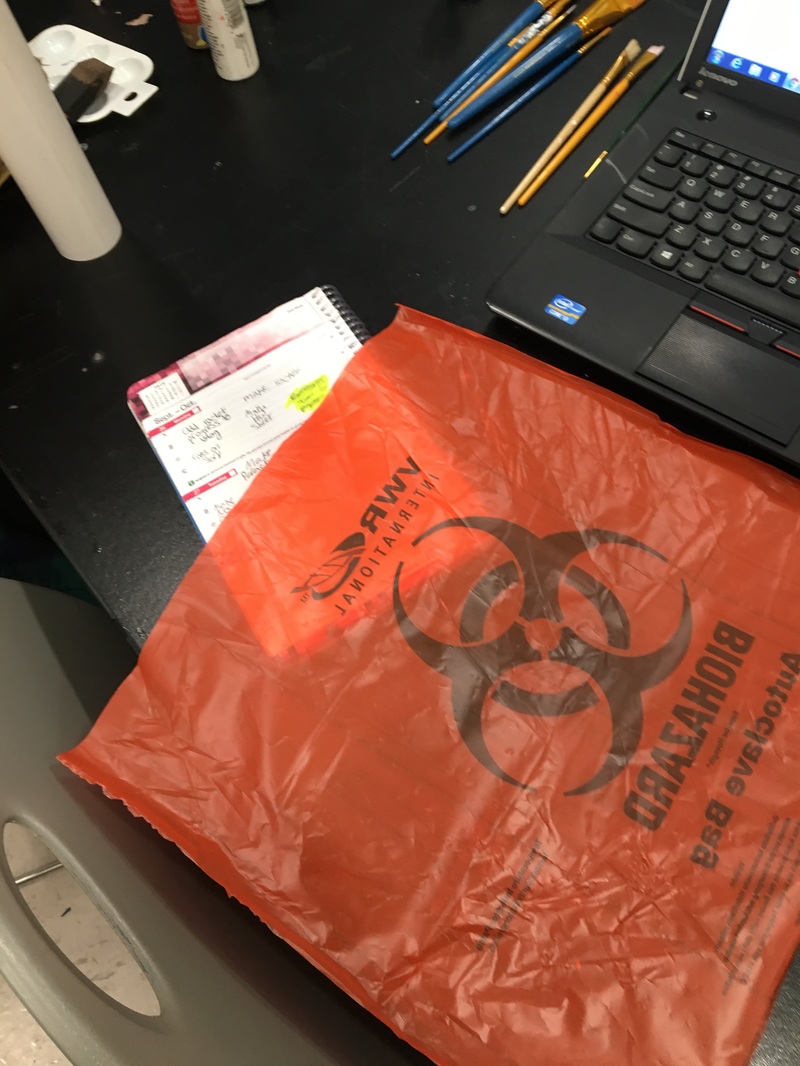
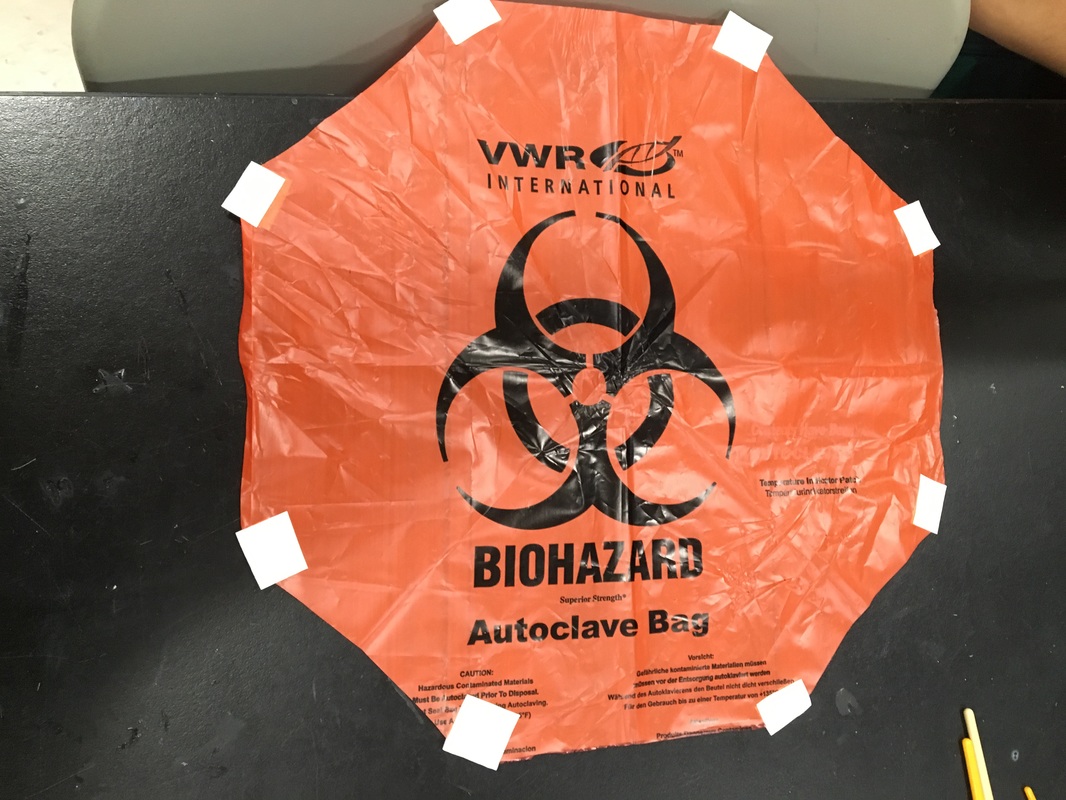
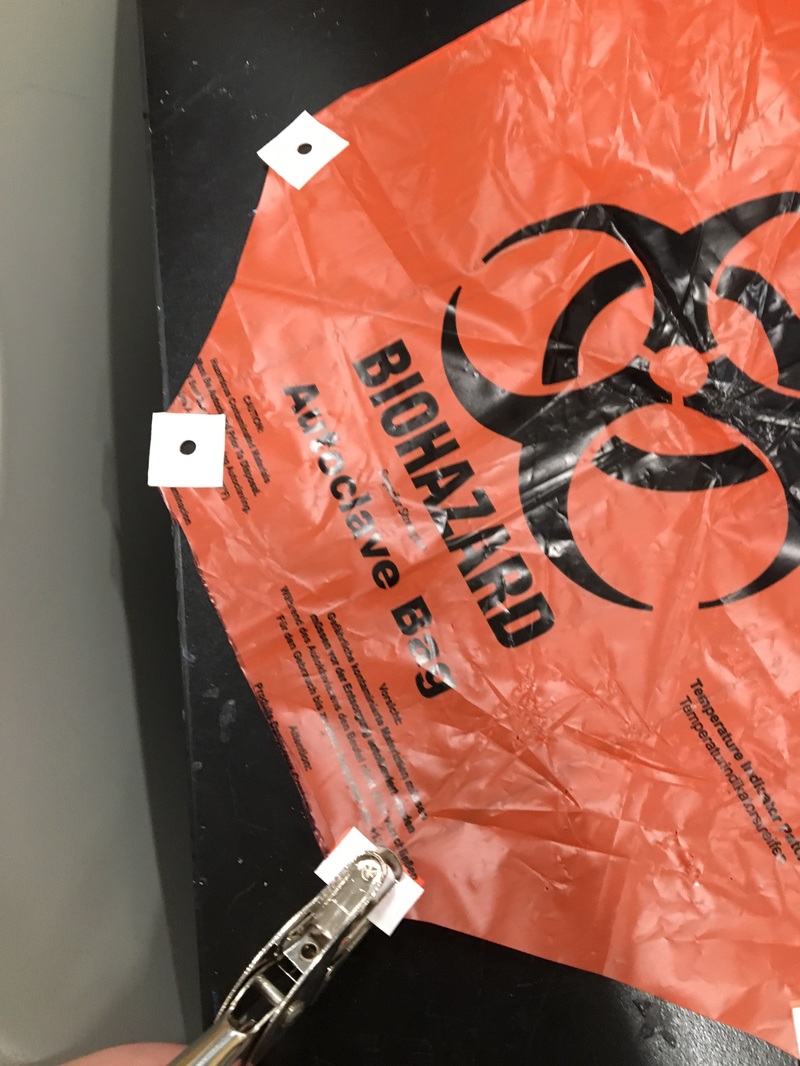
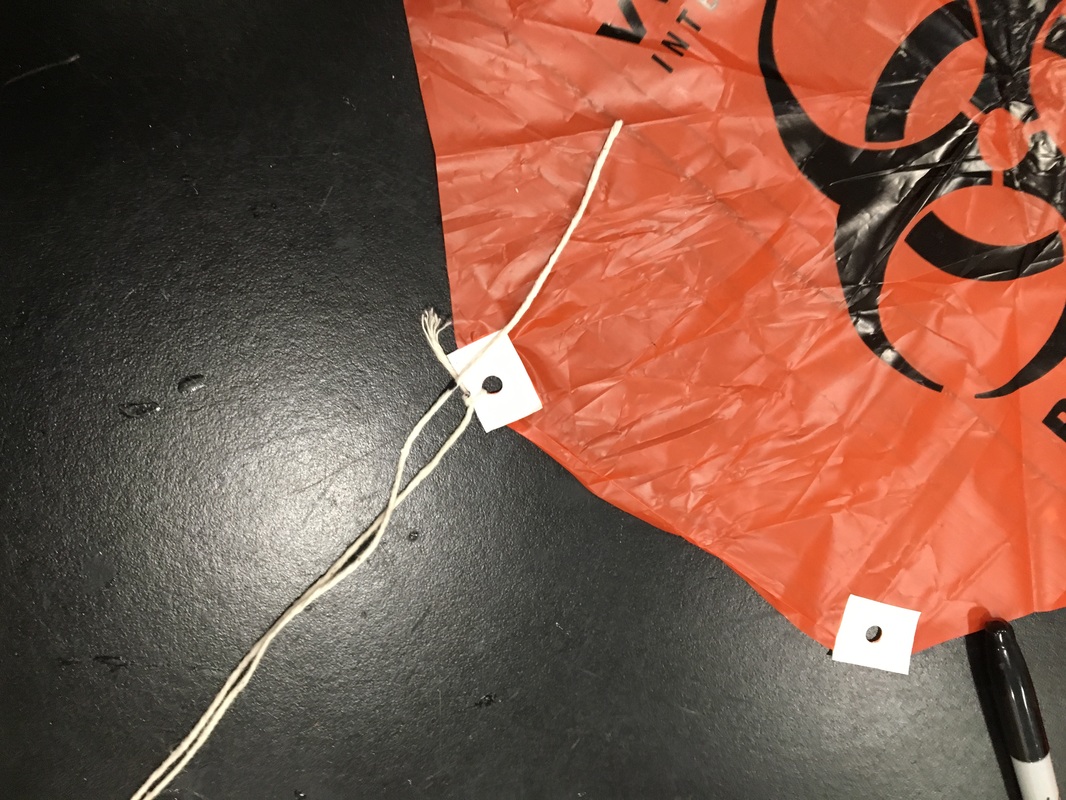
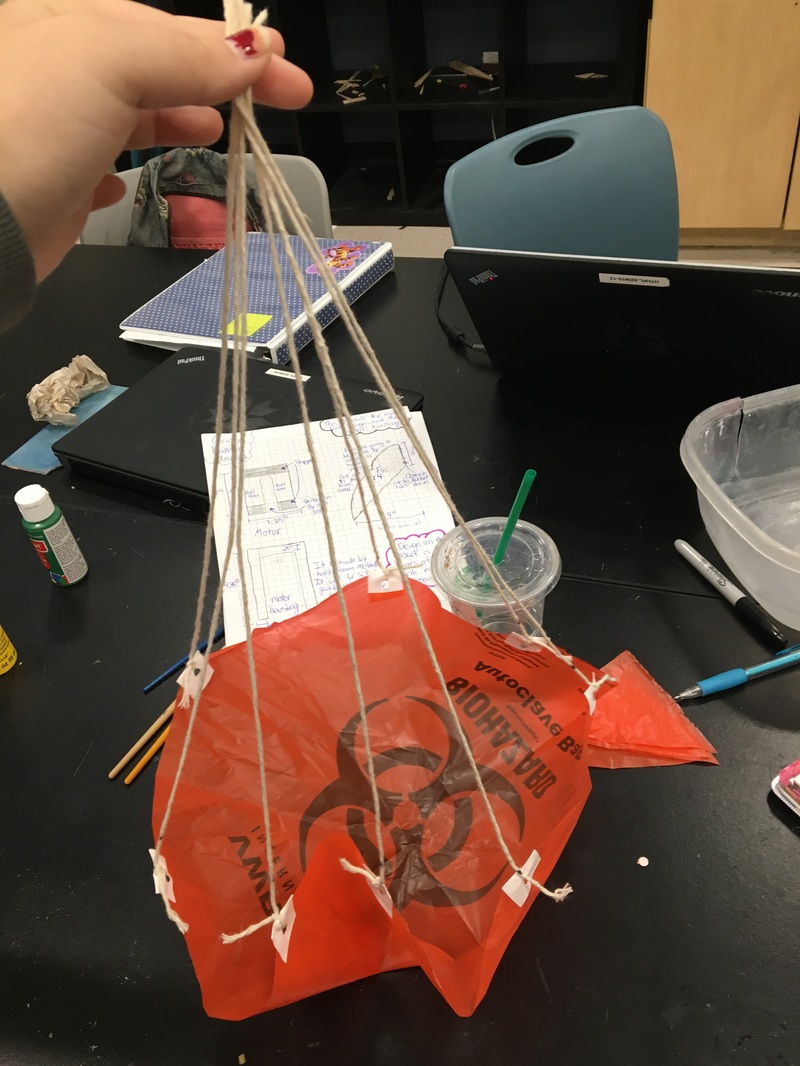
The parachute:
The parachute was a key element to this design that wasn't in the balsa rocket design, because this rocket was bigger and more powerful, and we wanted to get it down safely and slow down its descent.

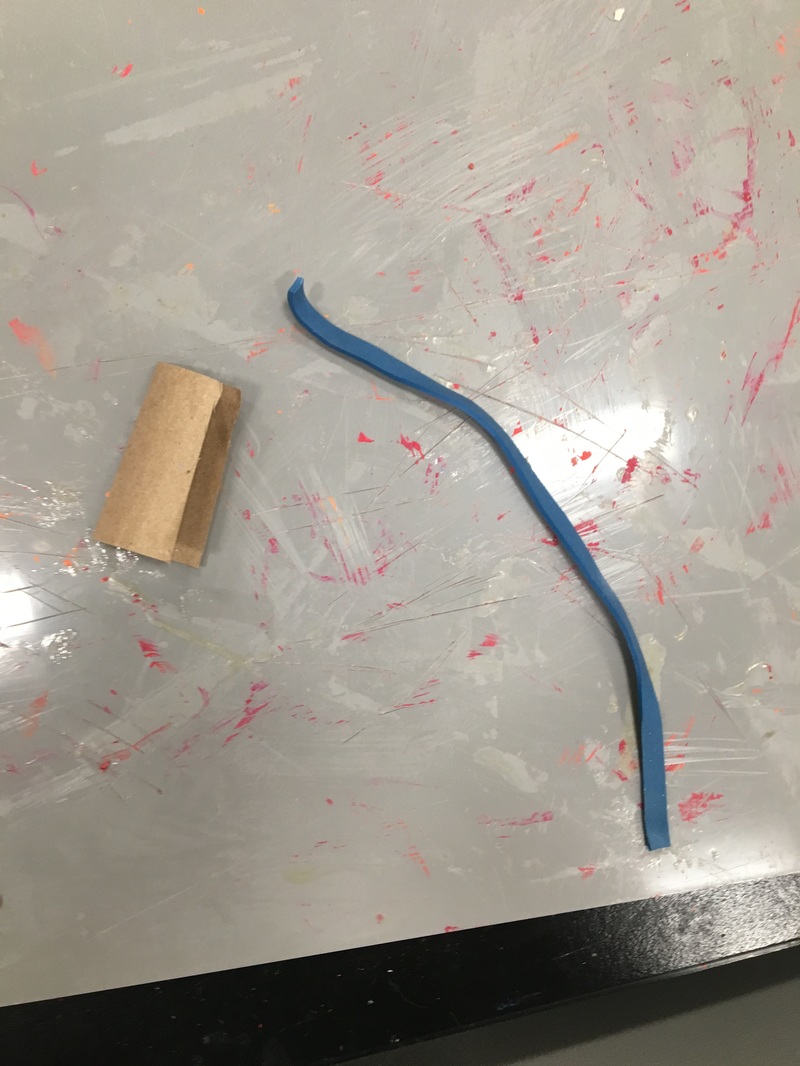
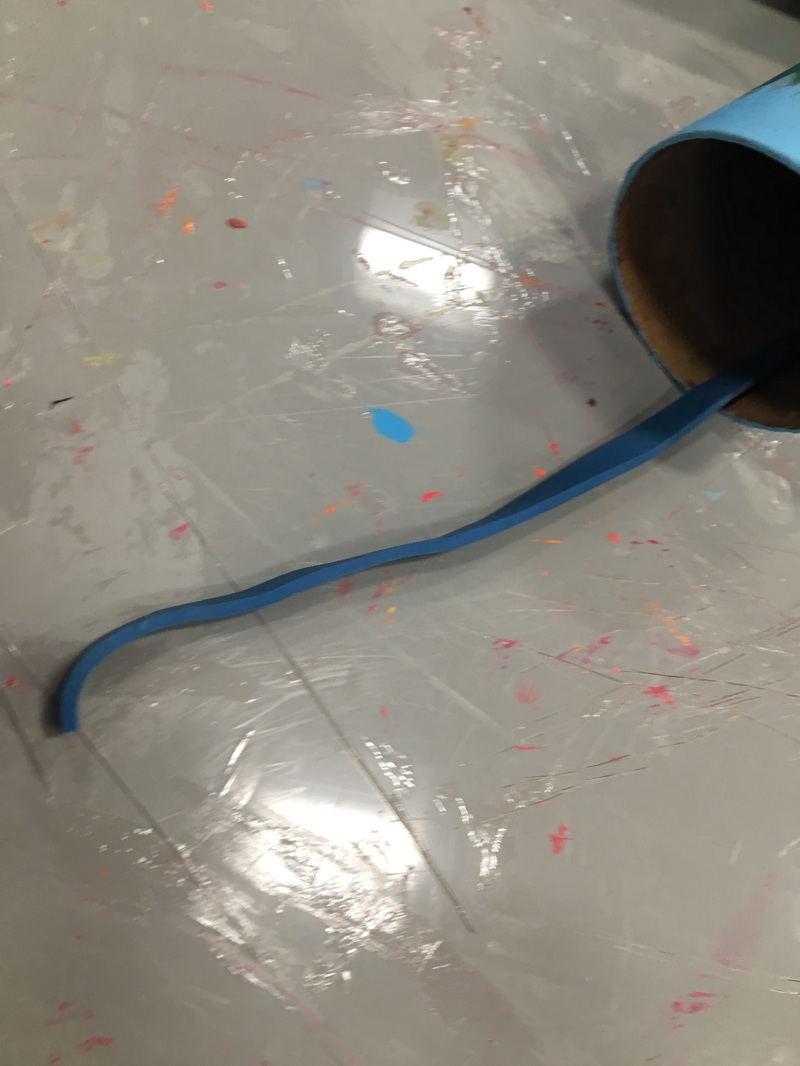
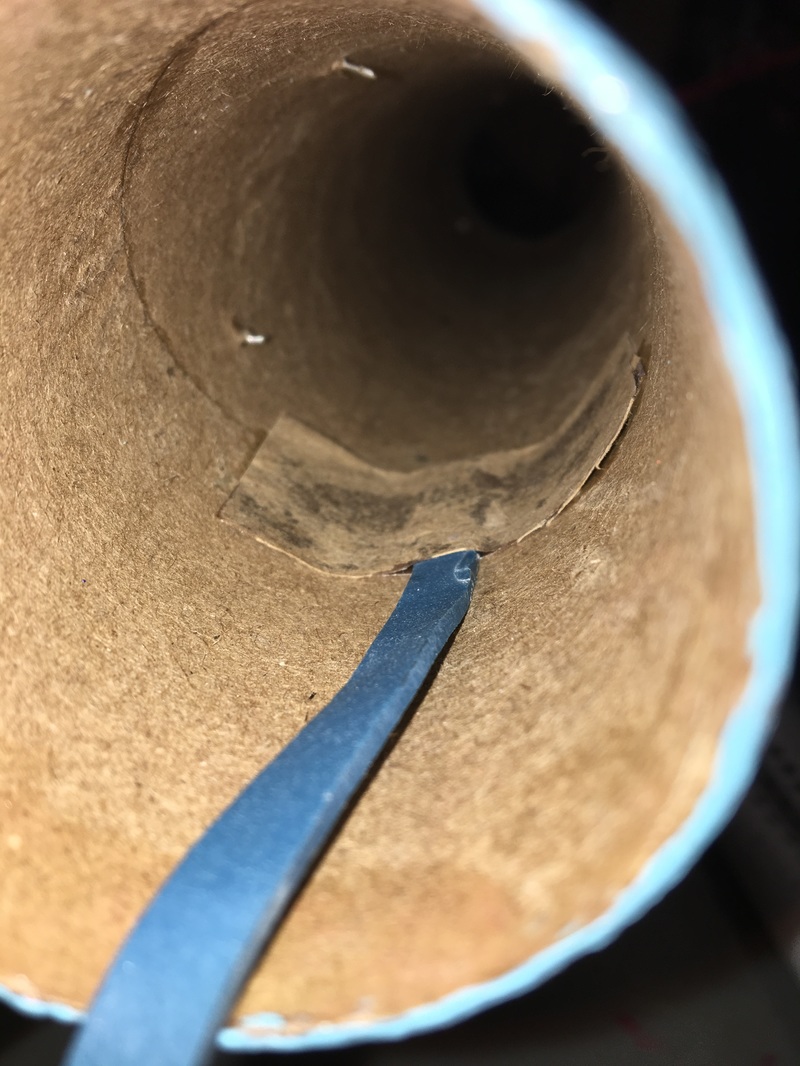
The shock chord:
The shock chord's purpose is to take the impact of the rocket opening. Shocking.
Finished rocket:
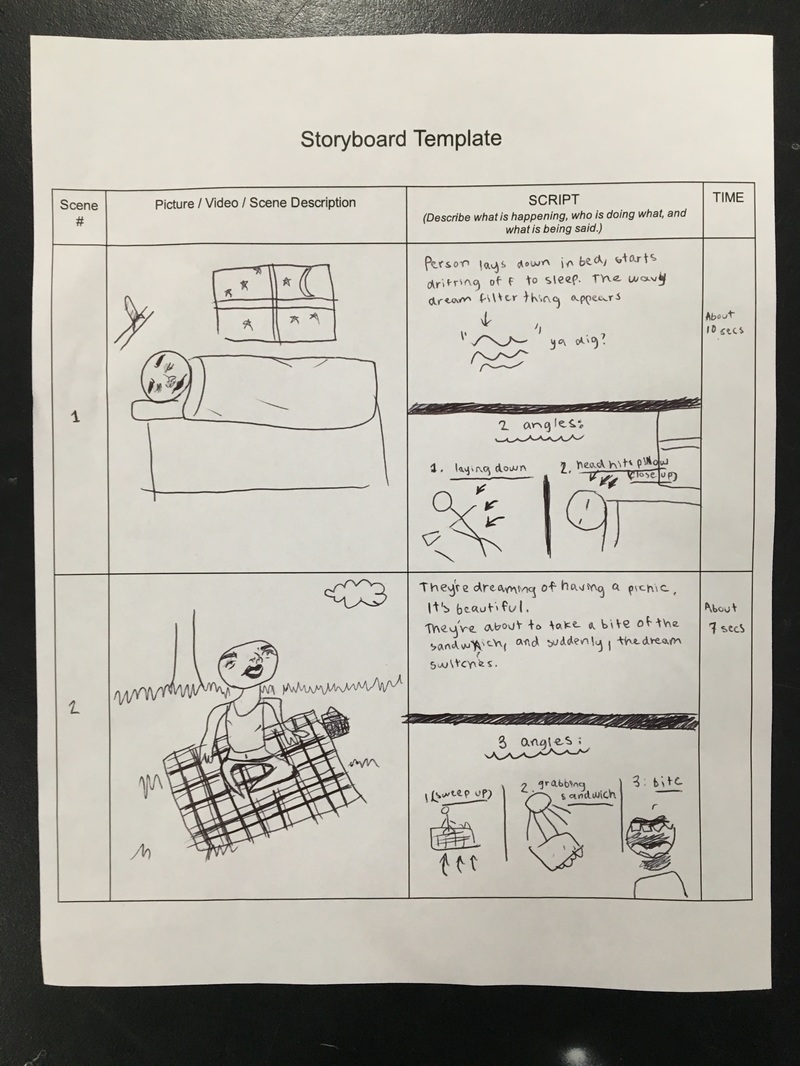
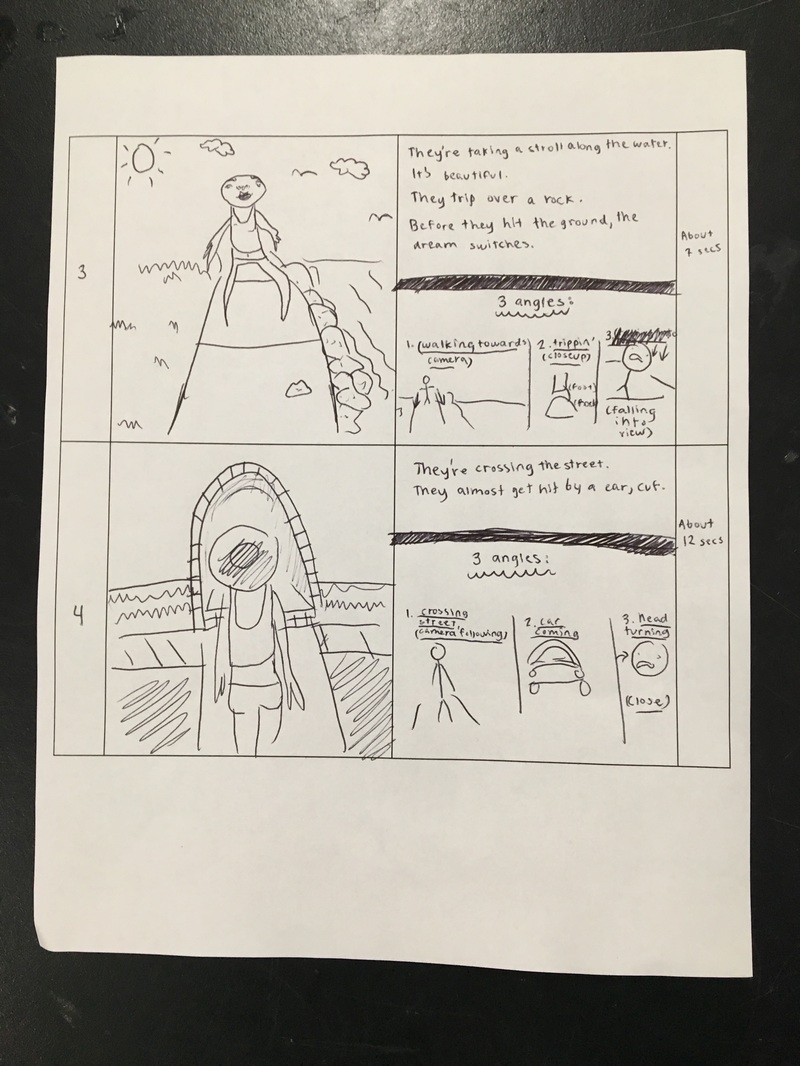
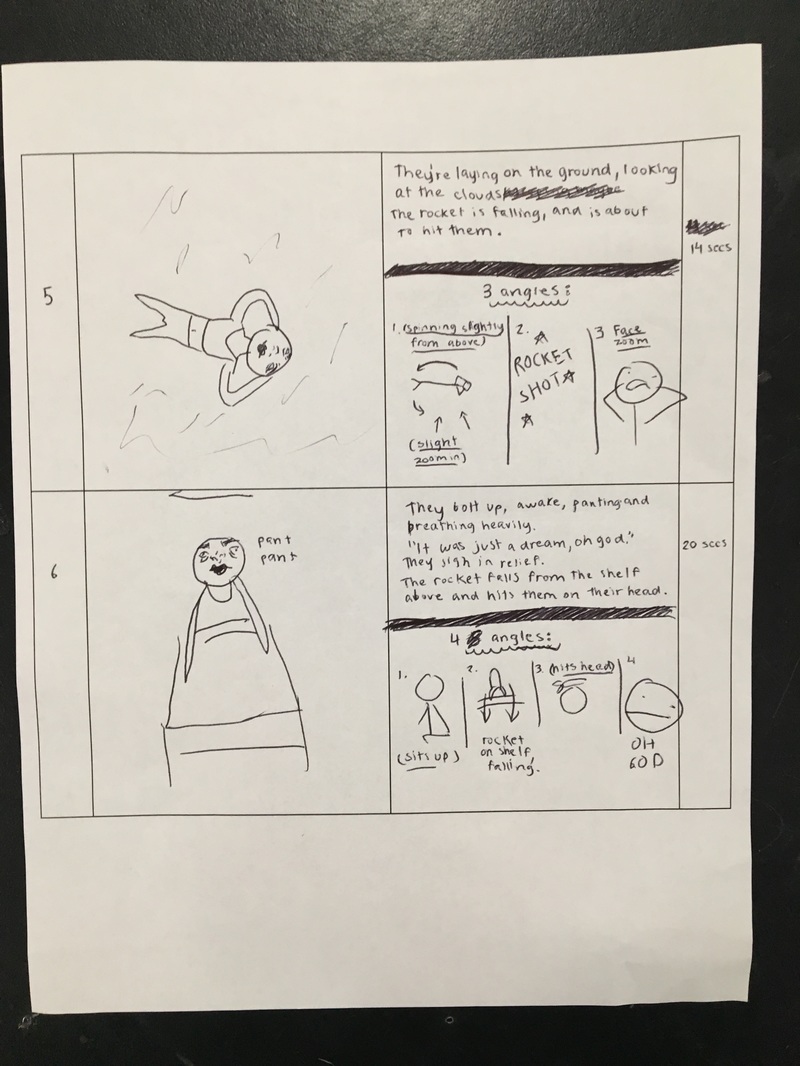
Movie making:
Any good movie starts with an idea. After lots of brainstorming, we all agreed on an idea, basically about someone having a series of dreams and with each dream, they get closer to death. The hard part was incorporating the rocket launch video, but we found a way. Any good movie also has a storyboard, which I artfully illustrated.
The launch:
I was honestly worried that our rocket wouldn't fly, since we had taken a risk and put 2 motors on the outside of our rocket. It ended up pretty much flying perfectly, and maybe it would've even landed perfectly if someone hadn't caught it.
The finished movie:
We filmed for about a day and spent another day putting the footage together. I'm not very proud of the end product, but it's decent. If I were to do it again, I would use a completely different story and different shots.
